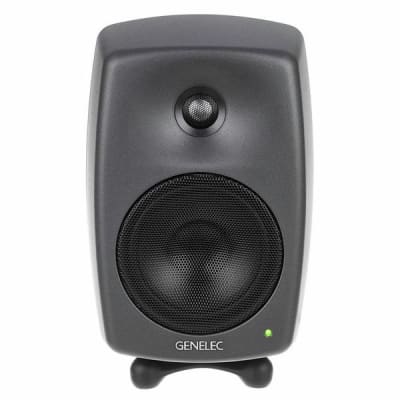
Monitors are the only point in the production chain where sound leaves the electrical domain and becomes acoustic pressure. Everything the engineer hears in the control room passes through them: they are the reference from which every recording, mixing and mastering decision is made. Choosing them well and positioning them correctly is one of the technical decisions with the greatest impact on the quality of the final result.
Why studio monitors are different
A conventional domestic speaker is designed to make music sound appealing: it boosts the bass for impact, lifts the highs for presence and smooths out the mids to reduce listening fatigue. The result is an enjoyable but coloured listening experience.
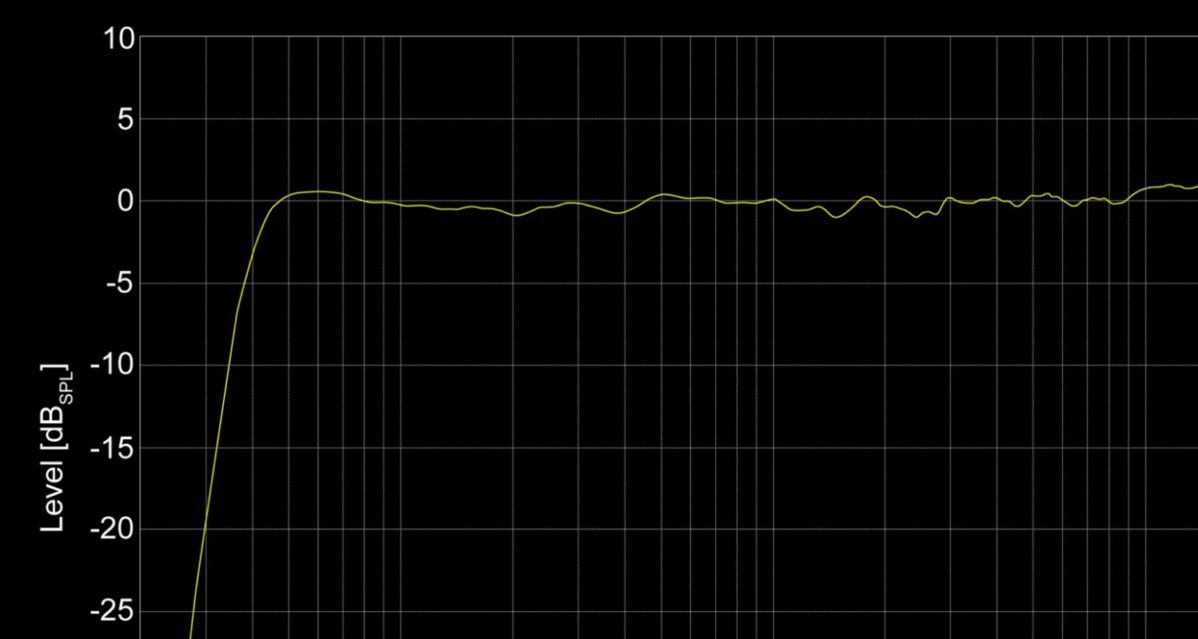
A studio monitor has the opposite goal: to reproduce sound with the greatest possible fidelity, without adding or removing anything. Its frequency response should be as flat as possible across the entire audible spectrum, neither emphasising nor softening any region. That honesty is essential: if the monitor hides a problem in the mix — excessive bass, sibilance in the vocal, two instruments clashing in the mids — that problem will reach the final listener unresolved on any other playback system.
Types of monitor by listening distance
Studio monitors are classified by the distance at which they are used relative to the listening position, which determines their size, power and the role they play in the studio workflow.
Near-field monitors
These are the most common. They are placed 1–2 metres from the listener, directly on the work surface or on nearby stands, aimed at the listening position. Their proximity means that the direct signal from the monitor dominates over room reflections, making them relatively less dependent on the acoustic conditions of the space. This makes them the ideal choice for home and project studios where acoustic treatment is limited.
They are typically built with woofers between 5 and 8 inches, with frequency responses reaching down to 40–50 Hz in the more capable models. They are the everyday working reference in the majority of professional studios, even when larger monitors are also available.
Mid-field monitors
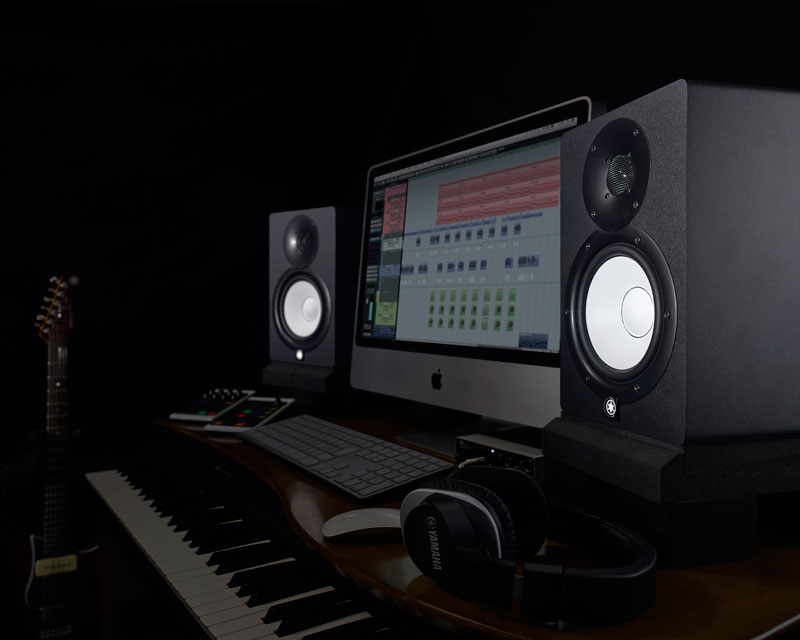
These are used at 2–4 metres and offer a broader perspective of the mix than near-field monitors. They are common in medium-sized studios where greater volume and bass extension are needed. They allow the mix to be evaluated as it would sound on good-quality domestic systems or cinema systems.
They typically incorporate 8 to 12-inch woofers and, in some cases, an additional mid-range driver for improved spectral coverage. In many professional studios they coexist with near-field monitors to provide two complementary listening perspectives.
Far-field monitors (main monitors)
These are the main monitors of large professional studios. They are listened to at more than 4 metres and are typically built into the front wall of the control room, which minimises the reflections and phase problems that would appear if they were on stands. Their size and power allow them to reproduce the full spectrum — including deep bass — at very high sound pressure levels without distortion.

They are high-end equipment, typically priced well above €10,000 per unit, and require a control room with precisely calibrated acoustics to perform correctly. Brands such as Genelec, ATC and PMC are references in this category.
Active and passive monitors
Regardless of their distance classification, all monitors can be active or passive.
Active monitors
Active monitors incorporate their own built-in amplifier, generally with a dedicated amplification stage for each driver (woofer and tweeter separately in a bi-amplified system). This allows the amplifier to be optimised specifically for the characteristics of the driver it is driving, achieving a more controlled and predictable response.
They are the standard option in modern studios for their simplicity: they connect directly to the output of the audio interface or console with no external amplifier required. Most include equalisation controls on the rear panel to adjust the response according to installation conditions (wall proximity effect, nearby surfaces).

Passive monitors
Passive monitors have no built-in amplification: they require an external amplifier connected between the signal source and the speaker. This configuration allows greater flexibility — different amplifier and speaker brands can be combined — but also greater technical complexity and more potential for errors in system optimisation.
They were the standard for decades and are still present in studios with well-established analogue infrastructure. The legendary Yamaha NS-10 — a passive monitor — was for years the most widely used reference monitor in studios worldwide.

Ways and transducers
Studio monitors are also classified by the number of ways — the number of transducers specialised in different frequency ranges:
- Two-way (2-way): A woofer for bass and mids, and a tweeter for highs. The most common configuration in near-field monitors. The crossover point between the two drivers is one of the most critical design parameters.
- Three-way (3-way): Adds a mid-range driver between the woofer and tweeter, allowing each driver to work in a narrower range with less distortion. Common in mid-field monitors and high-end near-field models.
- Subwoofer: Some systems add a separate subwoofer to reinforce the deep bass response (below 60–80 Hz). More common in post-production and film systems than in music studios.
Placement: the equilateral triangle
Monitor placement in the room is as important as their quality. An excellent monitor poorly placed sounds worse than a mediocre one well positioned.
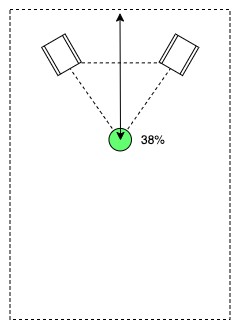
The fundamental placement principle is the equilateral triangle: the two monitors and the listener's head must form the three vertices of a triangle with all three sides equal. This ensures that the sound from both monitors travels exactly the same distance to the ears, which is essential for a precise and symmetrical stereo image.

In practice, a separation between monitors of 1 to 1.7 metres is typical for near-field systems. The distance from each monitor to the listening position should equal the distance between the monitors.
Height: tweeter at ear level
The tweeter of each monitor must be at exactly ear level when the engineer is seated in their working position. High frequencies are highly directional: if the head is above or below the tweeter axis, the high-frequency response rolls off, which causes the engineer to unnecessarily boost the highs in the mix, producing a final result that is too bright on other systems.
Angle: 30° toe-in
Monitors should not face straight forward in parallel: they should be rotated approximately 30° toward the listening position (toe-in). This angle ensures that the main axis of the tweeter points directly at the ears, maximising the high-frequency response at the listening point.
The 38% rule
The optimal listening position in a rectangular room is at 38% of the total room length from the front wall. At that distance, the combination of early reflections and room mode influence tends to be most favourable. In a 5-metre-long room, the listening position would be 1.9 metres from the wall where the monitors are placed.
Wall distance and decoupling
Proximity to walls boosts the bass through acoustic boundary loading. As a general rule, monitors should maintain at least 20–30 cm of clearance from the rear wall and avoid corners. Most active monitors include correction filters on the rear panel (labelled "wall", "desk" or "free") specifically to compensate for these effects.
Placing monitors directly on the work surface creates reflections off the desk that reach the engineer's ear milliseconds after the direct sound, causing comb filtering. The solution is decoupled desk stands (with damping material between the monitor and the surface) or freestanding speaker stands that eliminate that reflection path entirely.
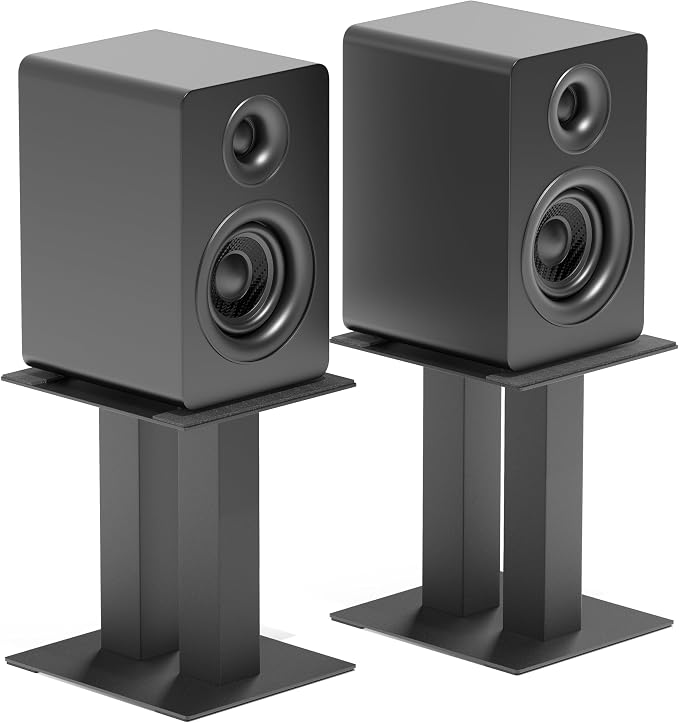
Checklist: correct monitor placement
- Equilateral triangle between the two monitors and the listening position.
- Tweeter at exact ear level in the working position.
- Approximately 30° toe-in angle toward the listening position.
- Listening position at 38% of the room length from the front wall.
- Minimum 20–30 cm clearance from the rear wall.
- Monitors decoupled from the desk surface or on freestanding stands.
- Full symmetry on both sides of the room's central axis.
Alternative listening references
No monitoring system is perfect or covers every perspective. For this reason, professional studios typically have several listening references to cross-check decisions made on the main monitors:
- A second pair of lower-quality monitors: Simulates how the mix will sound on domestic or computer speakers. The legendary Yamaha NS-10 and the Auratone 5C historically fulfilled this "worst case" reference function.
- Reference headphones: Useful for detecting editing problems or noises that speakers may mask. They do not replace speaker listening for stereo mixing decisions.
- Mono listening: Collapsing the mix to mono immediately reveals phase problems between channels and helps verify that the main elements work on a single-speaker system.
If you want to explore specific studio monitor options for your project, our studio monitor comparator lets you filter and compare models by technical specifications and price.