Once the recording session is complete, the DAW contains all the captured takes: some perfect, others with mistakes, many with useful material mixed with sections to be discarded. Editing is the process that transforms that raw material into clean, well-synchronised tracks ready for mixing. It is the invisible work that separates an amateur recording from a professional production.
Non-destructive editing: the fundamental principle
All modern DAWs work on a principle of non-destructive editing: the original audio files recorded to the hard drive are never modified. Every cut, fade, repositioning or volume change made on the DAW timeline is an instruction that the software applies in real time during playback, but the file on the drive remains untouched.
This has very important practical consequences:
- Any change can be undone, even after closing and reopening the project.
- The same recording can be used in multiple positions or tracks of the project simultaneously without duplicating the file.
- It is always possible to return to the original take, regardless of how many edits have been stacked on top of it.
- There is no risk of losing material through error: editing is always reversible.
Cuts and regions
The most basic editing operation is the cut: dividing an audio region into two independent parts. In most DAWs this is done with the razor or scissors tool, or with a keyboard shortcut, by placing the cursor at the exact point of division.
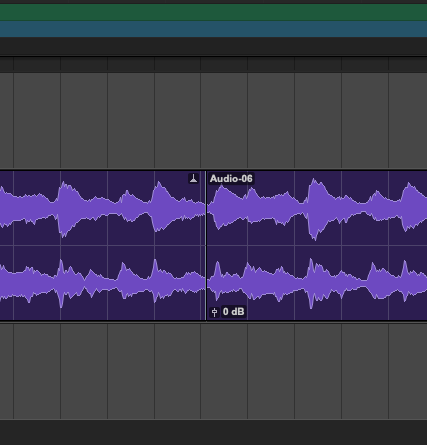
Once cut, each region can be moved, deleted, copied or processed independently. Cuts are the foundation of all more complex editing operations: selecting the best section from each take, reordering song sections, removing unnecessary silences or building a comp from multiple takes.
The cut point should be placed carefully:
- Ideally at a zero crossing of the waveform (where the wave crosses the silence line), to avoid audible discontinuities.
- In natural breaths or silences between phrases, where the cut is least perceptible.
- Avoiding note attacks or transients, where cuts are hardest to conceal.
Fades and crossfades
An abrupt cut between two audio regions almost always produces a click or pop: a waveform discontinuity that the ear immediately perceives as an error. The solution is to apply a fade or a crossfade.
- Fade in: The region starts in silence and rises gradually to its nominal level. Used at the start of a track or to enter a region smoothly.
- Fade out: The region drops gradually to silence. Used at the end of a track, at the end of a song or to exit a region smoothly before a cut.
- Crossfade: A combination of fade out on the first region and fade in on the second, overlapping briefly. It is the essential tool for all edits between adjacent regions: it smooths the transition and eliminates any click at the cut point.
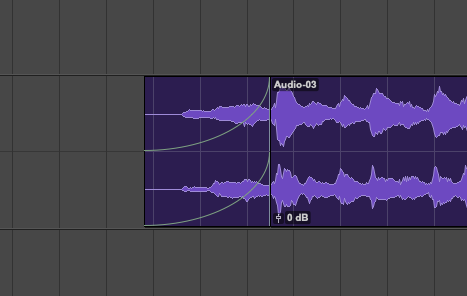
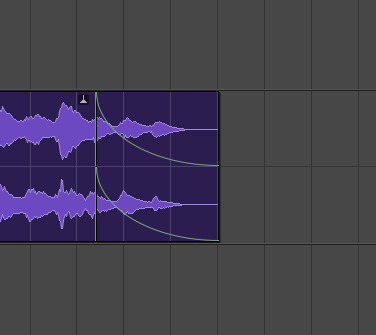
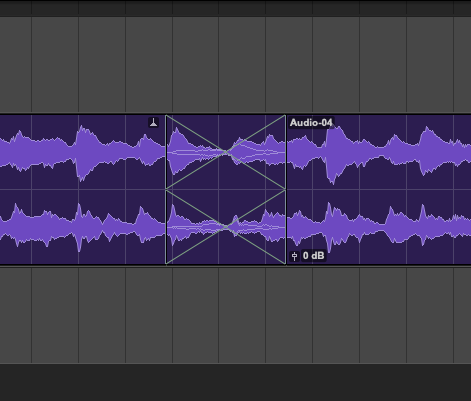
Crossfade length varies by context: when editing between words in a vocal, 5–20 ms is enough to eliminate the click without being audible. In transitions between song sections, it can extend over several bars to create a gradual transition.
Pitch correction
Pitch correction is one of the most widely used editing tools in modern music production. It allows out-of-tune notes in vocal or instrument recordings to be corrected without repeating the take. The two main approaches are:
Auto-Tune and real-time correction
Auto-Tune (Antares) is the best-known pitch correction processor. It works as a plugin that analyses the audio signal in real time and automatically pulls it towards the nearest note in a defined musical scale. It is fast, convenient and highly effective for global corrections where every note should fall exactly in tune.
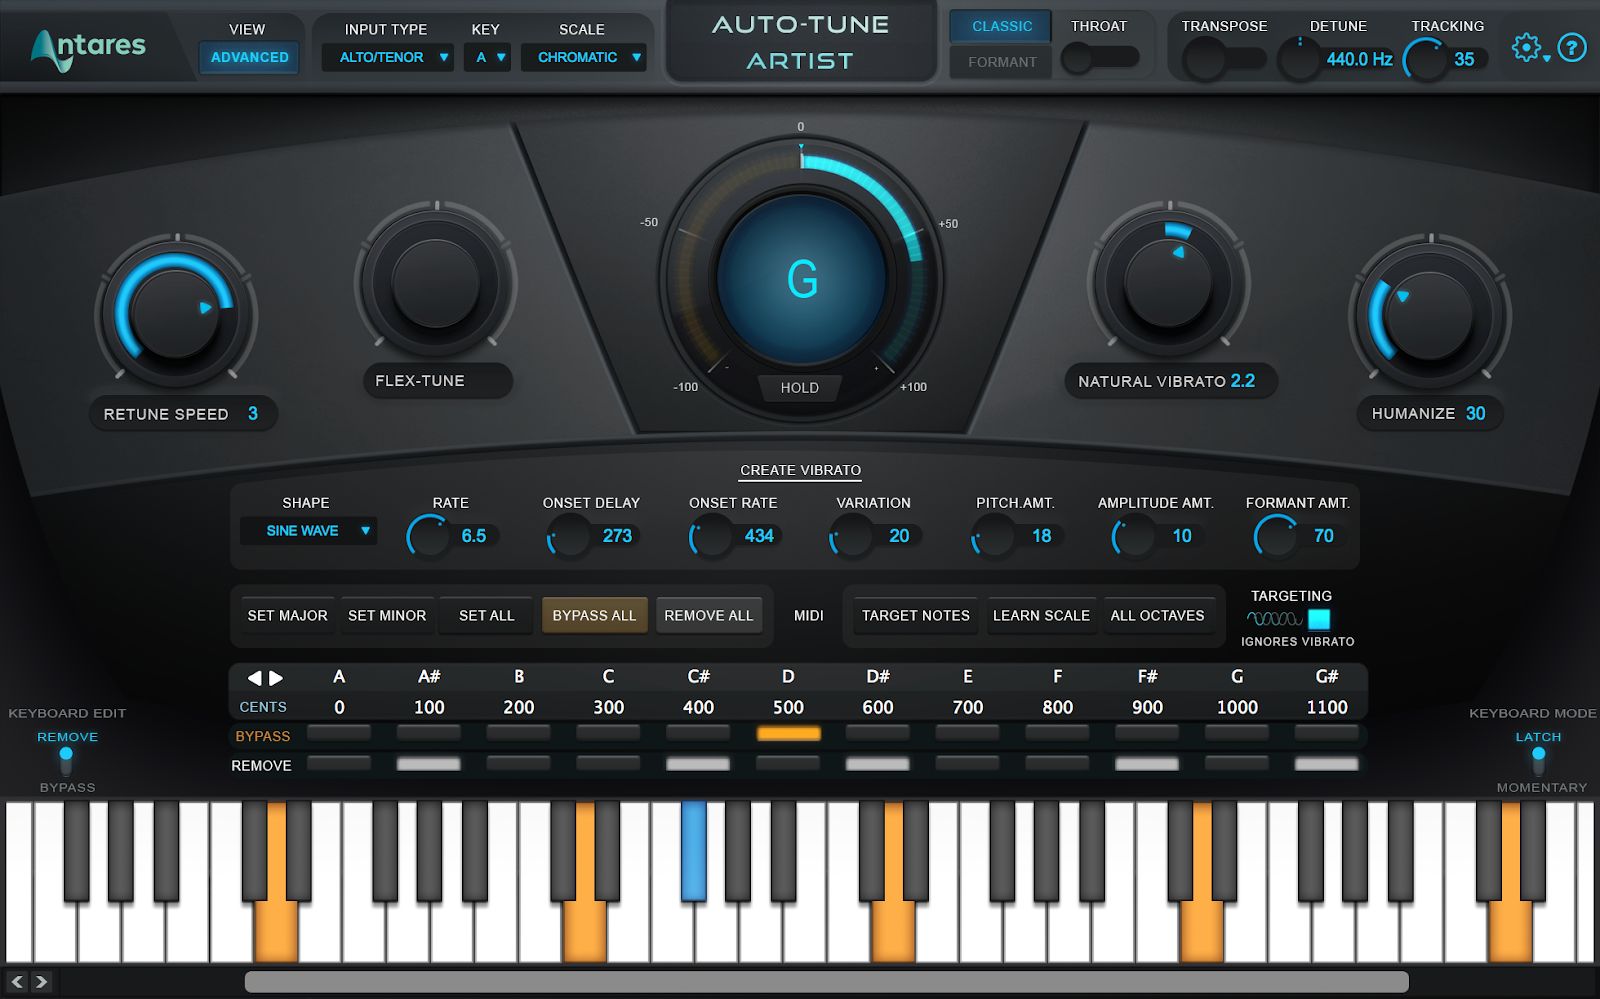
The retune speed parameter is the key to its character:
- Slow speed: the correction is gradual and natural-sounding, respecting vibrato and expressive inflections.
- Fast speed (or instant): each note is snapped to exact pitch immediately, producing the robotic, metallic effect characteristic of pop, trap and modern R&B.
Melodyne and graphical correction
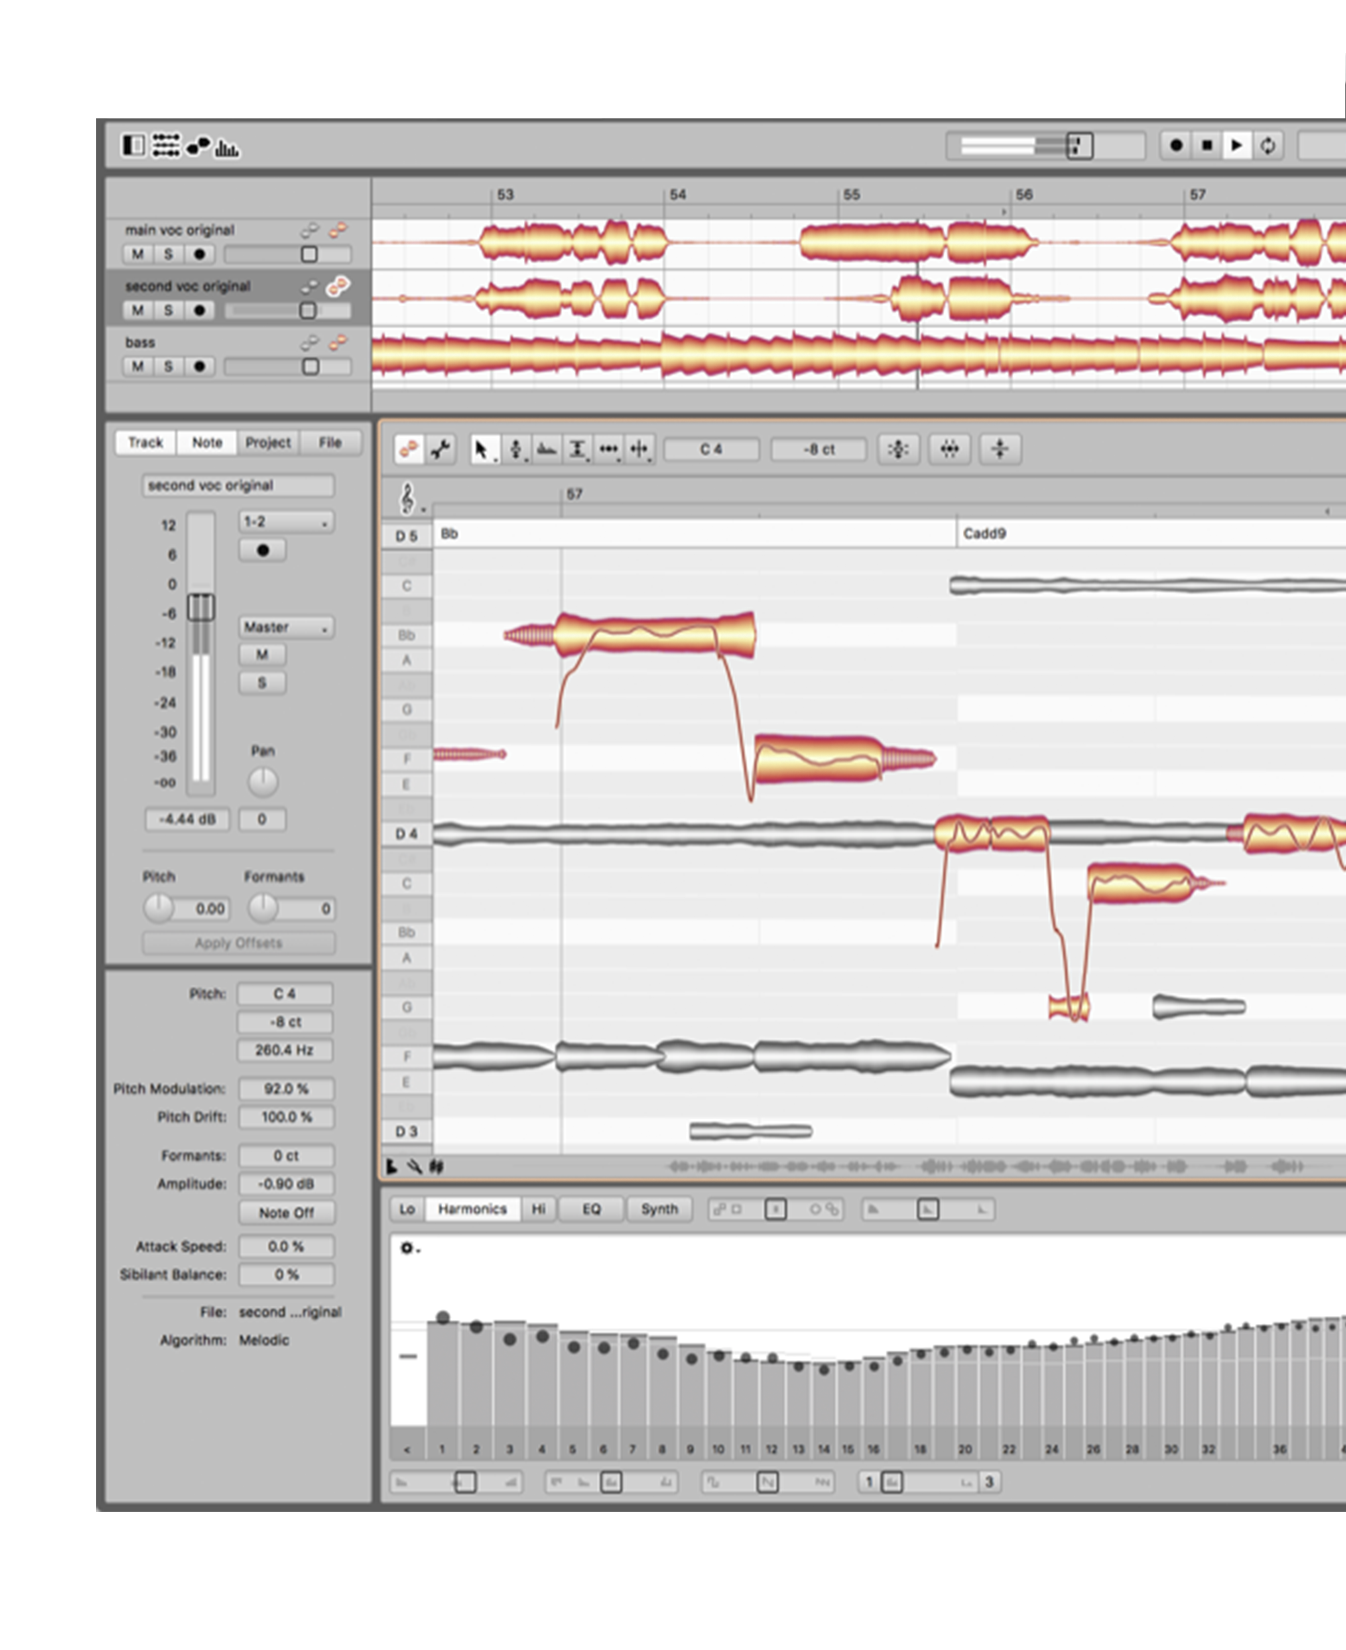
Melodyne (Celemony) is the industry standard for precision pitch correction. Unlike Auto-Tune, Melodyne does not process the signal in real time: it analyses the recording and represents it graphically as a series of "notes" that can be individually moved, adjusted and modified with the mouse.
This allows:
- Moving each note exactly where it needs to be, note by note, with total control.
- Adjusting vibrato: increasing, reducing or removing it on specific notes.
- Modifying the duration of individual notes to correct timing problems.
- Working on polyphonic instruments (guitar, piano) using its DNA (Direct Note Access) technology.
Integration with the DAW via the ARA2 (Audio Random Access) protocol means Melodyne works directly within the DAW timeline, as if it were an alternative view of the track, without the need to export and re-import audio.
Quantisation and timing editing
Quantisation is the process of aligning notes or audio transients to the DAW's tempo grid. It corrects rhythmic inaccuracies by moving each event to the nearest time value defined by the user (quaver, semiquaver, etc.).
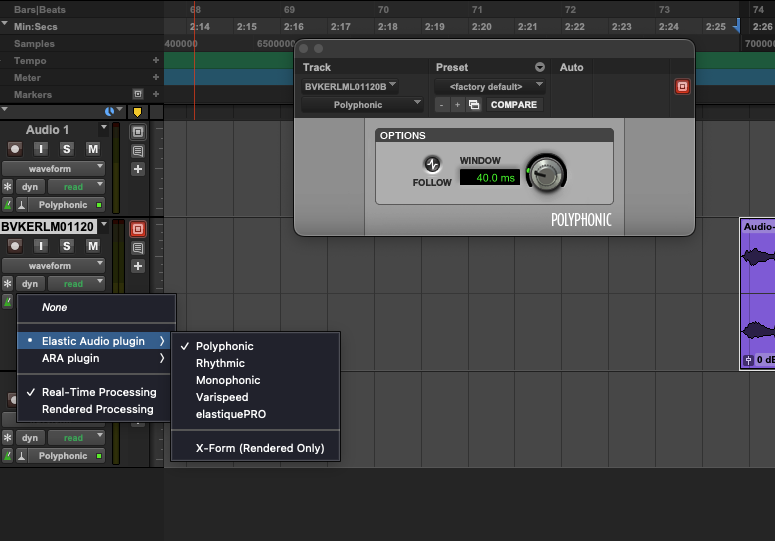
With MIDI data, quantisation is straightforward: the DAW moves MIDI events to the grid with total precision. With audio, the process is more complex and relies on transient detection algorithms: the software identifies attacks (kicks, snares, guitar notes) and redistributes them on the grid by adjusting the length of the segments between them via time-stretching.
Each DAW has its own timing editing engine:
- Elastic Audio (Pro Tools)
- Flex Time (Logic Pro)
- Warp (Ableton Live)
- Audio Warp (Cubase)
Quantisation should be applied with judgement. At 100%, the result is perfectly on the grid but mechanical and lifeless. On human recordings, partial quantisation (70–80%) or subsequent humanisation preserves the organic feel of the performance while correcting obvious errors.
Time-stretching and pitch shifting
Time-stretching allows the duration of an audio region to be changed — sped up or slowed down — without modifying its pitch. It is the tool that makes it possible to match a sample or recording's tempo to the project tempo without changing the key.
Pitch shifting does the opposite: it changes the pitch of a region without modifying its duration. It is used to transpose recordings to a different key or to create harmonies from a single take.
Both operations involve audio reconstruction through algorithms that have their limits: very large tempo or pitch changes produce audible noise and errors. High-quality algorithms (such as zplane's Élastique, used in Cubase, or those in Melodyne) minimise these issues and produce more natural results than the basic algorithms built into entry-level DAWs.
Noise removal
Professional recordings are rarely free of unwanted noises straight from the session. Editing always includes a cleaning phase:
Isolated noises
Clicks, pops, guitar fret buzzes, accidental bumps, mouth noises or chair creaks: brief, localised events that appear visually on the waveform as anomalous spikes. They are removed by:
- Applying a very short fade (2–5 ms) over the event to smooth it.
- Replacing the section with silence or with material copied from a nearby quiet section of the same track.
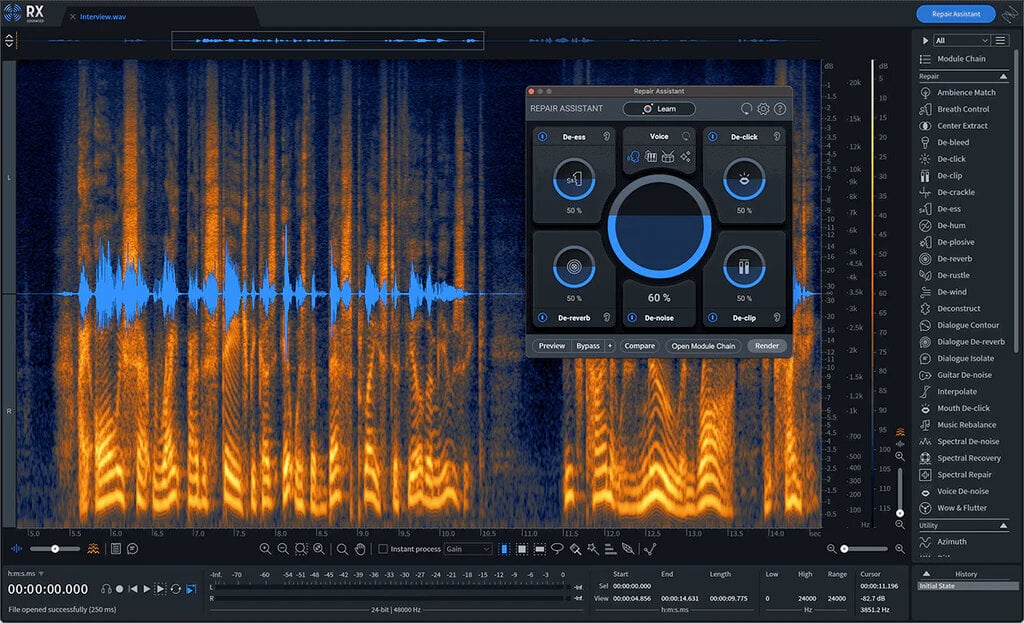
- Using dedicated repair tools such as iZotope RX, which can remove individual clicks with surgical precision without affecting the sound around them.
Continuous background noise
Room noise, preamplifier hiss, electrical hum or ventilation noise are continuous noises present throughout the recording. They are treated with spectral noise reduction tools: the processor learns the spectral profile of the noise from a section containing only noise (no signal), then subtracts that profile from the entire signal.
iZotope RX is the industry standard for this type of work: it includes specific modules for noise reduction, electrical hum removal, declicking, de-reverberation and distortion repair.
Breaths and silences
In vocal recordings, breaths between phrases require an editorial decision: should they be kept, reduced or removed? Very loud breaths or breaths at awkward moments can be distracting in the mix. The standard approach is to reduce their level (not remove them entirely, as complete absence sounds unnatural) or shorten them to avoid interrupting the vocal flow.
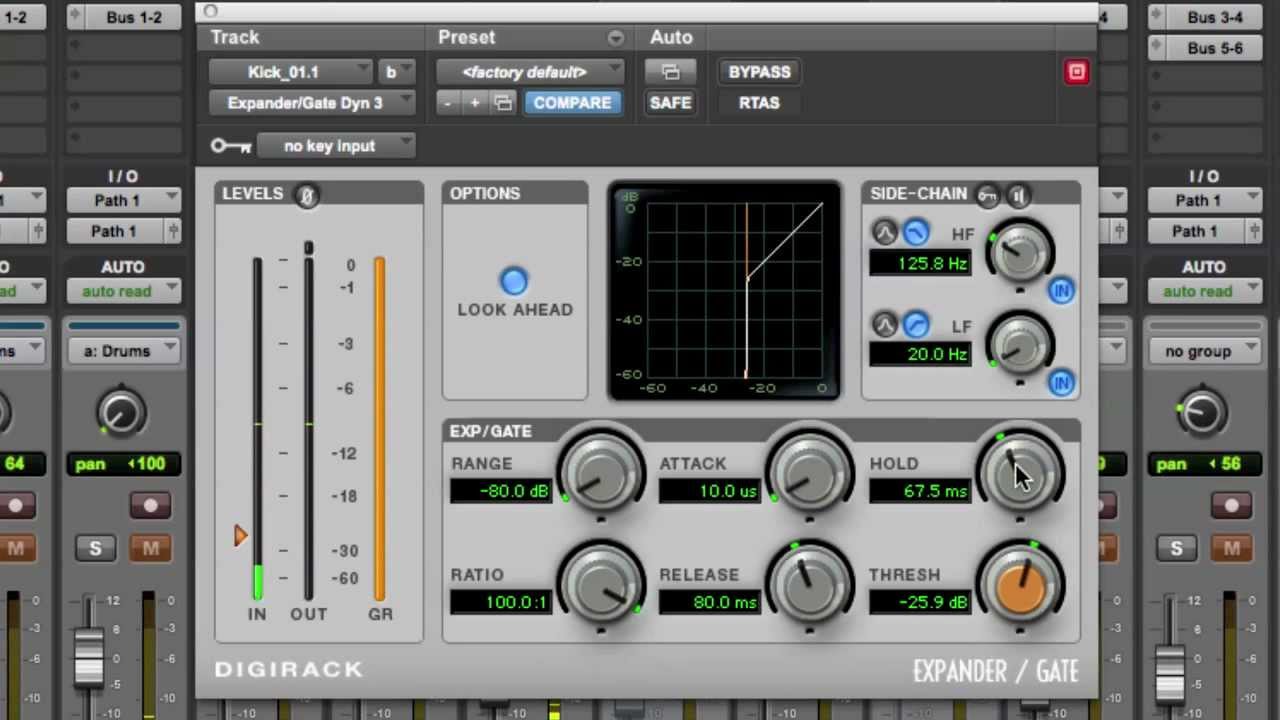
Silences between active regions also need cleaning: the room noise that remains on a track when the instrument is not playing accumulates in the mix. Noise gates or the DAW's strip silence function (which automatically removes all regions below a level threshold) are the standard tools for this.
Track organisation and mix preparation
Once all tracks have been edited, the session must be organised to streamline the mixing process. The most relevant organisational decisions are:
- Name all tracks: With clear, unambiguous names (Lead Vox, Rhythm Guitar L, Kick In, etc.).
- Assign colours: Colour coding groups sections visually (drums in red, guitars in blue, vocals in yellow) and speeds up navigation in sessions with many channels.
- Create track groups or folders: Grouping all drum microphones into one folder, all vocals into another, etc. Makes volume management and section visibility easier.
- Order channels logically: Common convention: drums → bass → guitars → keyboards → vocals → effects and returns.
- Delete discarded material: Removing takes that will definitely not be used reduces project size and eliminates confusion during mixing.