Placing a microphone on stage is not an arbitrary decision. Position, angle, distance and microphone type all determine what sound reaches the console, how much unwanted noise bleeds into it and how stable the system is against feedback. Before mic'ing each specific instrument, there is a set of principles that govern every placement decision on stage.
Fundamental principles of microphone placement
Distance: the first parameter
The distance between the microphone and the sound source simultaneously determines three variables: signal level, the balance between direct sound and room sound, and the amount of bleed from other sources.
The inverse square law states that doubling the distance between microphone and source reduces the signal by 6 dB. In practice this means that working close (close miking) provides a strong signal, dry direct sound and maximum isolation from other sources, at the cost of losing the instrument's acoustic response in the space. Moving further away gives a more open and natural sound but captures more of the environment — which on stage typically means more feedback.
In live sound, the general tendency is to work close. System stability against feedback and isolation between sources take priority over the acoustic "naturalness" that distance provides.
Angle: tone and rejection
The angle between the microphone axis and the source does not only affect level: it also changes tone. A microphone aimed directly on-axis captures the brightest, most direct response. Rotating it off-axis softens the high frequencies, reduces sibilance and can produce a warmer sound, particularly with condenser microphones.
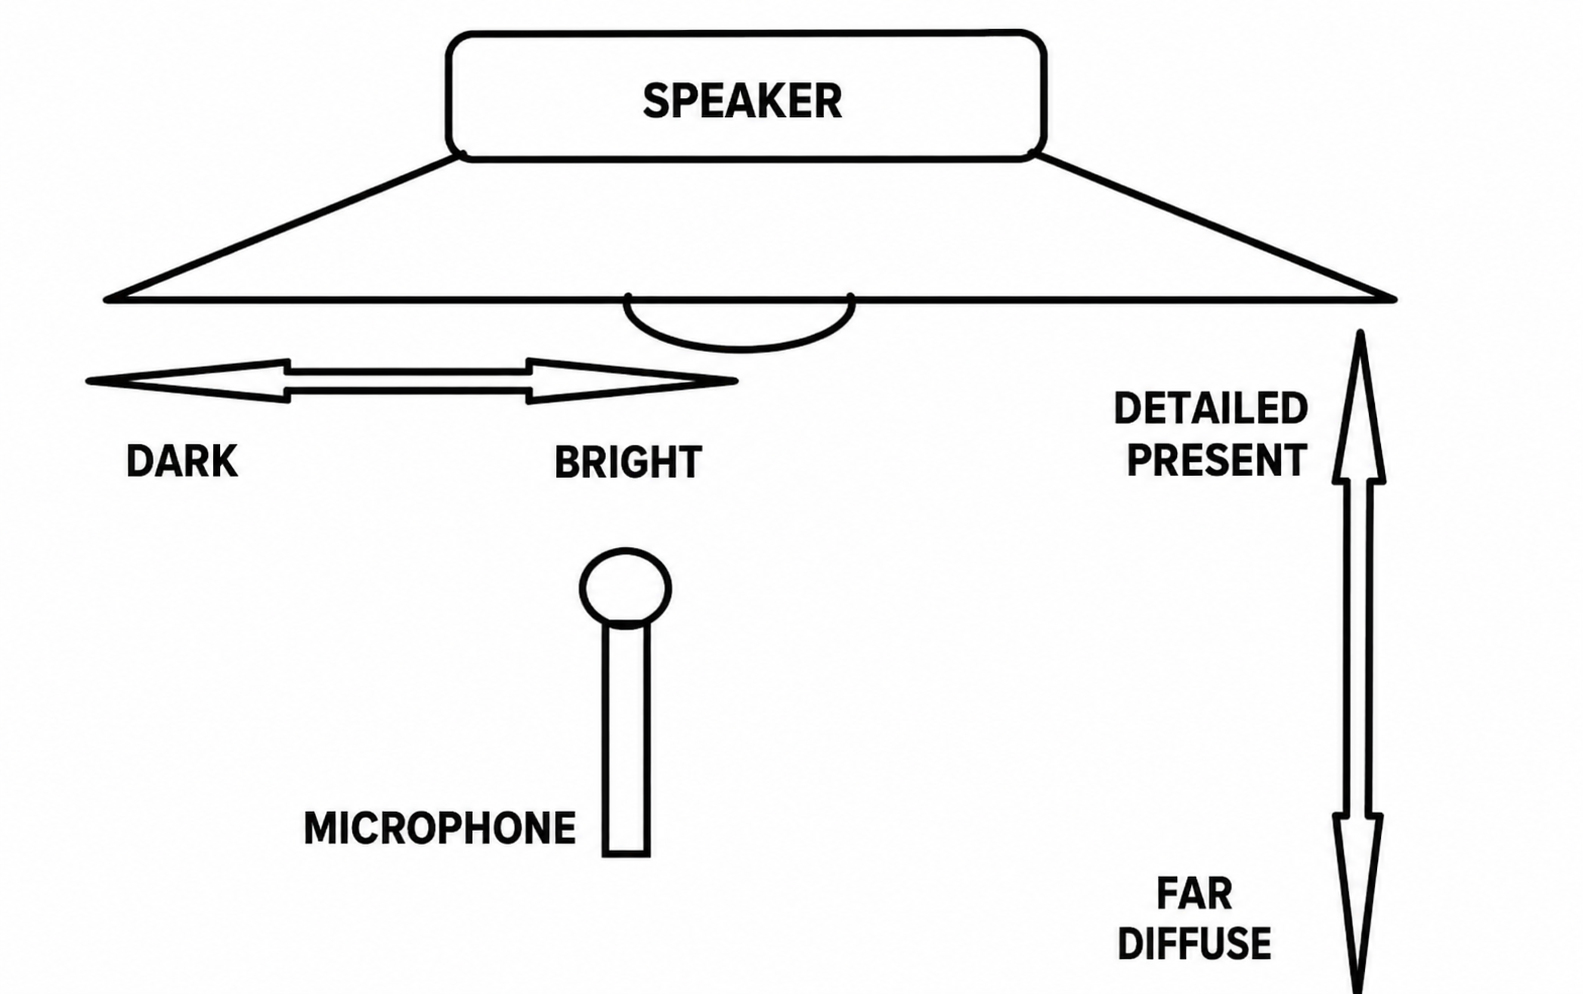
On stage, angle is also a rejection tool: orienting the null point of the polar pattern toward the monitors or another noisy source reduces bleed without changing position.
Proximity effect
The proximity effect is the low-frequency boost that directional microphones experience when placed very close to a source. At a few centimetres' distance, the bass response can increase by up to 12–14 dB around 100 Hz. Only omnidirectional microphones are free from this effect.
On stage, the proximity effect has two sides:
- As a problem: A vocalist who constantly varies their distance from the microphone produces level and tonal changes that are difficult to manage at the console. The typical solution is to apply a high-pass filter on the channel.
- As a tool: Deliberately placing the microphone closer adds body and warmth to a thin voice, or thickens the attack of a snare drum. It is a form of equalisation without an artificial equaliser.
Bleed and the 3-to-1 rule
Bleed is the unwanted pickup of sources other than the microphone's intended target. On a stage full of nearby sound sources, bleed is inevitable, but it can be minimised.
The 3-to-1 rule states that the distance between two active microphones must be at least three times the distance from each microphone to its own source. If the snare microphone is 5 cm from the head, the hi-hat microphone should be at least 15 cm away from the snare mic. When this ratio is not respected, comb filtering appears: phase cancellations that create a hollow and unnatural sound.

The main strategies for reducing bleed are: placing the microphone closer to its source, using more directional patterns (supercardioid or hypercardioid) and, where possible, adding physical separation between sources (baffles, acoustic screens).
The high-pass filter as standard practice
In live sound, the high-pass filter (HPF) is applied to virtually every channel as standard. Its purpose is to remove the low frequencies that each source does not need to reproduce: mechanical floor rumble, cable noise, frequencies the instrument simply does not emit.
Accumulating unnecessary bass across all channels muddies the mix, consumes headroom and adds energy the PA system has to reproduce, increasing the tendency to feed back. The typical cut frequency varies by source: from 80–100 Hz on vocals and overheads, down to 40–60 Hz on kick drums.
Capturing vocals
Vocals are the most exposed channel on stage: the singer moves, varies their distance, and the microphone works centimetres from the monitors. The standard is a cardioid dynamic microphone — the Shure SM58 and its equivalents have been the reference for decades — held close to the mouth, with the microphone tilted slightly upward to reduce plosive pop.
Key principles for vocal capture:
- Working distance: Between 5 and 15 cm is the typical range. Closer adds body via the proximity effect; further gives clarity but reduces gain before feedback.
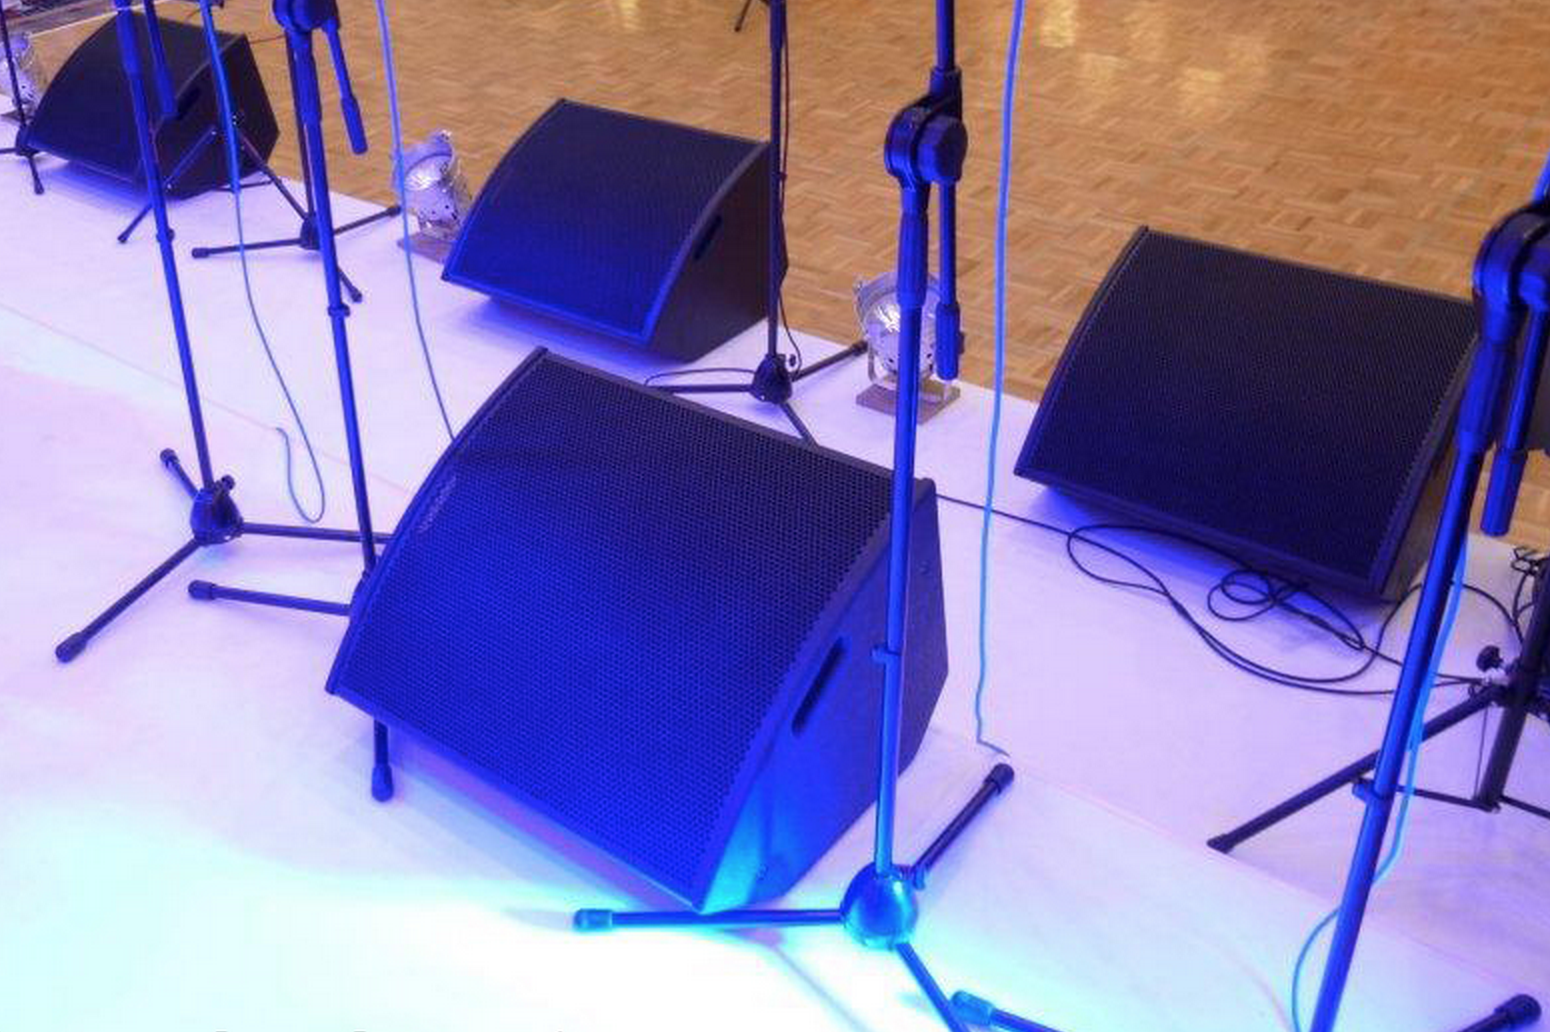
- Monitor placement: Directly behind the microphone (at 180°) to make full use of the cardioid pattern's maximum rejection.
- High-pass filter: Cut around 80–120 Hz to remove floor rumble and excess bass from the proximity effect.
- Off-axis angle: Tilting the microphone 15–20° off the monitor axis can reduce feedback without perceptibly affecting vocal capture.
Capturing drums
The drum kit is the most complex source on stage: multiple instruments with very different frequency ranges and sound pressure levels, all within a confined space. The standard approach combines close microphones on individual elements with overheads that capture the kit as a whole.
Kick drum
The kick drum microphone is placed inside the drum through the hole in the rear (resonant) head, aimed toward the area where the beater strikes the front (batter) head. Distance to the batter head determines character: very close gives more attack and click; slightly further back gives more body and low end.

The standard microphone is a dynamic designed for low frequencies and high SPL, such as the AKG D112 or the Shure Beta 52. The high-pass filter is not applied to the kick drum channel — it is precisely the channel that needs the bass — but a low-pass filter may be applied to limit the very high frequencies that contribute noise rather than useful information.
Snare drum
The snare microphone is placed 3–5 cm above the top head, angled toward the centre of the head. The Shure SM57 is the universal reference. Aiming at the centre gives more attack; moving toward the rim softens the sound.

It is common to add a second microphone beneath the snare, aimed at the bottom head, to capture the snare wire sound (buzz). This microphone is phase-inverted at the console, as both microphones receive the sound in opposite phase from either side of the head.
Toms
Toms are mic'd with small-diaphragm dynamics or dedicated percussion clip microphones placed close to the rim, aimed toward the centre of the head. In environments with many nearby sources, supercardioid or hypercardioid patterns are preferred to maximise isolation between toms and from the overheads.

Overheads
Overheads are condenser microphones positioned above the drum kit. Their purpose is not only to capture cymbals: they are responsible for the overall image of the kit, the sense of ensemble and the natural sound. They are aimed toward the centre of the kit, at a height of between 1 and 1.5 metres above the drums.

In live sound, the most common configuration is an XY pair (two condensers with capsules at 90° and very close together) centred over the kit, or two microphones in a spaced A/B configuration (one over the hi-hat side, one over the ride), following the 3-to-1 rule relative to the close mics. Small-diaphragm condensers offer a more precise and consistent frequency response.
Typical drum kit configuration in live sound
- Kick drum: 1 dynamic (AKG D112, Shure Beta 52) inside the drum.
- Snare top: 1 dynamic (Shure SM57) at 3–5 cm, angled toward the centre.
- Snare bottom: 1 dynamic (phase inverted) aimed at the snare wires.
- Toms: 1 dynamic or clip mic per tom, supercardioid pattern.
- Overheads: Pair of small-diaphragm condensers (XY or A/B).
- Hi-hat: Optional. Small-diaphragm condenser around 10–15 cm, off-axis.
Capturing electric guitar
Electric guitar is captured through its amplifier. The standard in live sound is a cardioid dynamic microphone placed directly in front of the cabinet speaker, right up against the grille or a few centimetres away.
Position on the cone determines the character of the sound:
- Centre of the cone: More attack, more upper-mid presence, brighter and more aggressive sound.
- Between centre and edge: Balance between brightness and warmth. The most common position.
- Edge of the cone: More warmth, less presence, softer and rounder sound.
Angling the microphone off-axis (not perfectly perpendicular to the speaker) also softens the high frequencies. On cabinets with multiple speakers, each one sounds slightly different: it is worth listening to each before deciding which to mic. In large productions it is common to combine a close mic with a second microphone 1–2 metres from the cabinet to capture more ambience, always checking phase alignment between the two.
Capturing acoustic guitar and bass
Acoustic guitar
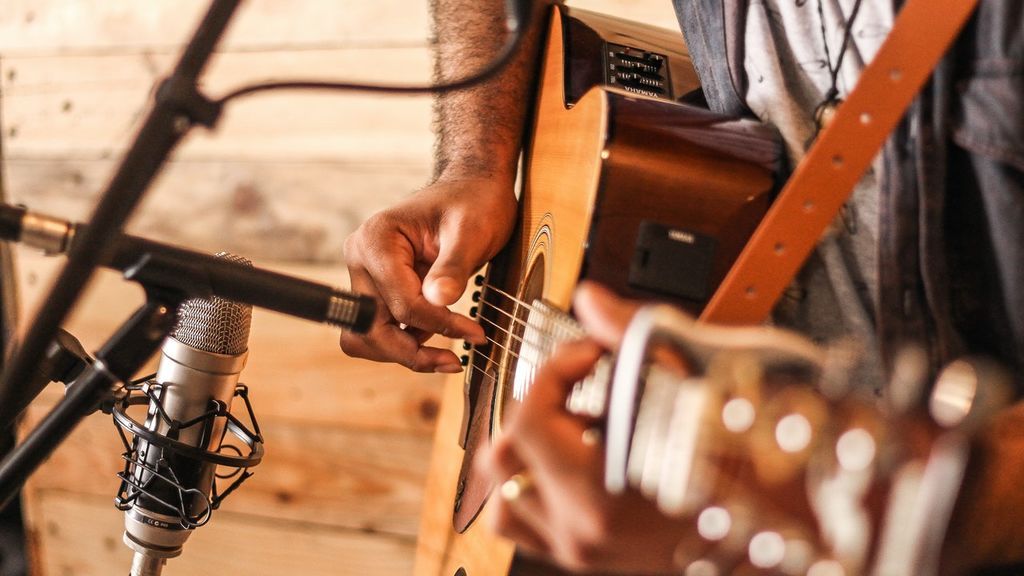
Acoustic guitar is a particularly challenging instrument on stage: its natural sound requires a condenser to be captured faithfully, but the condenser's sensitivity makes it highly prone to feedback from stage monitors.
The most common positions are:
- 12th fret, at 15–20 cm: Captures the balance between the clarity of the neck and the warmth of the body. The most versatile position.
- Between the soundhole and the bridge, at 20–30 cm: More brightness and percussiveness. Useful when the guitar needs to cut through a dense mix.
- Aimed directly at the soundhole: Heavy low end and body, but extremely prone to feedback. Not recommended in live sound with active monitors.
In live sound it is common to combine a condenser microphone with a piezoelectric pickup: the pickup provides stability and feedback resistance; the microphone adds naturalness and air. Blending both signals at the console gives the best result.
Electric bass
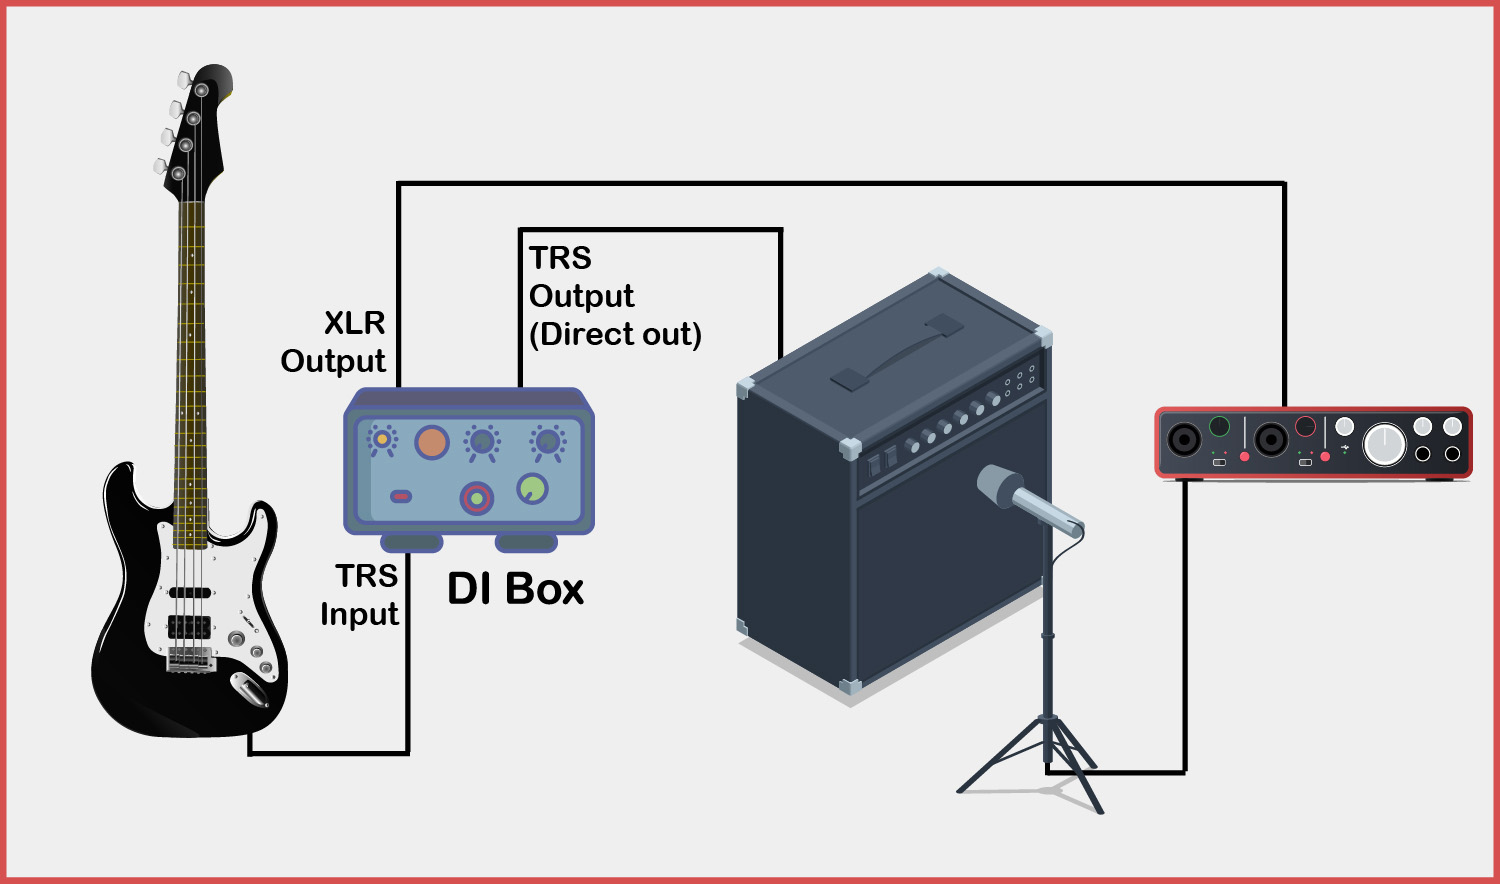
Bass is almost always captured via a DI box, which converts the instrument's direct signal into a balanced microphone-level signal. It is the cleanest, most consistent option and free from feedback issues. Many engineers combine the DI with a dynamic microphone on the bass amplifier to add character and punch to the channel.
Capturing brass and woodwind instruments
Wind instruments present a specific challenge: they radiate sound through the bell but also through the keys, tone holes and body of the instrument. Mic'ing only the bell gives a bright but incomplete sound.
Brass (trumpet, trombone, tuba)
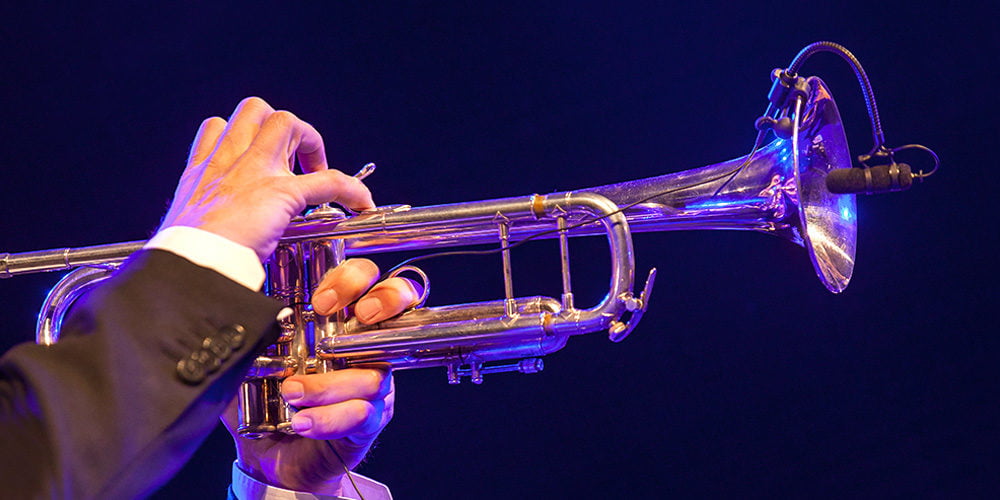
The microphone is placed 15–30 cm from the bell, slightly off-axis to avoid the direct air blast that can overload the capsule and cause distortion. An angle of around 15–20° off-axis is typical. Both dynamics (more robust, less prone to feedback) and small-diaphragm condensers are used.
Woodwind (saxophone, clarinet, flute)
Saxophone and clarinet radiate sound along the entire body of the instrument. The microphone is placed at a medium distance of 20–40 cm, aimed at the lower section of the instrument (between the middle keys and the bell), not directly at the bell. This captures a more balanced overall frequency response from the whole instrument.
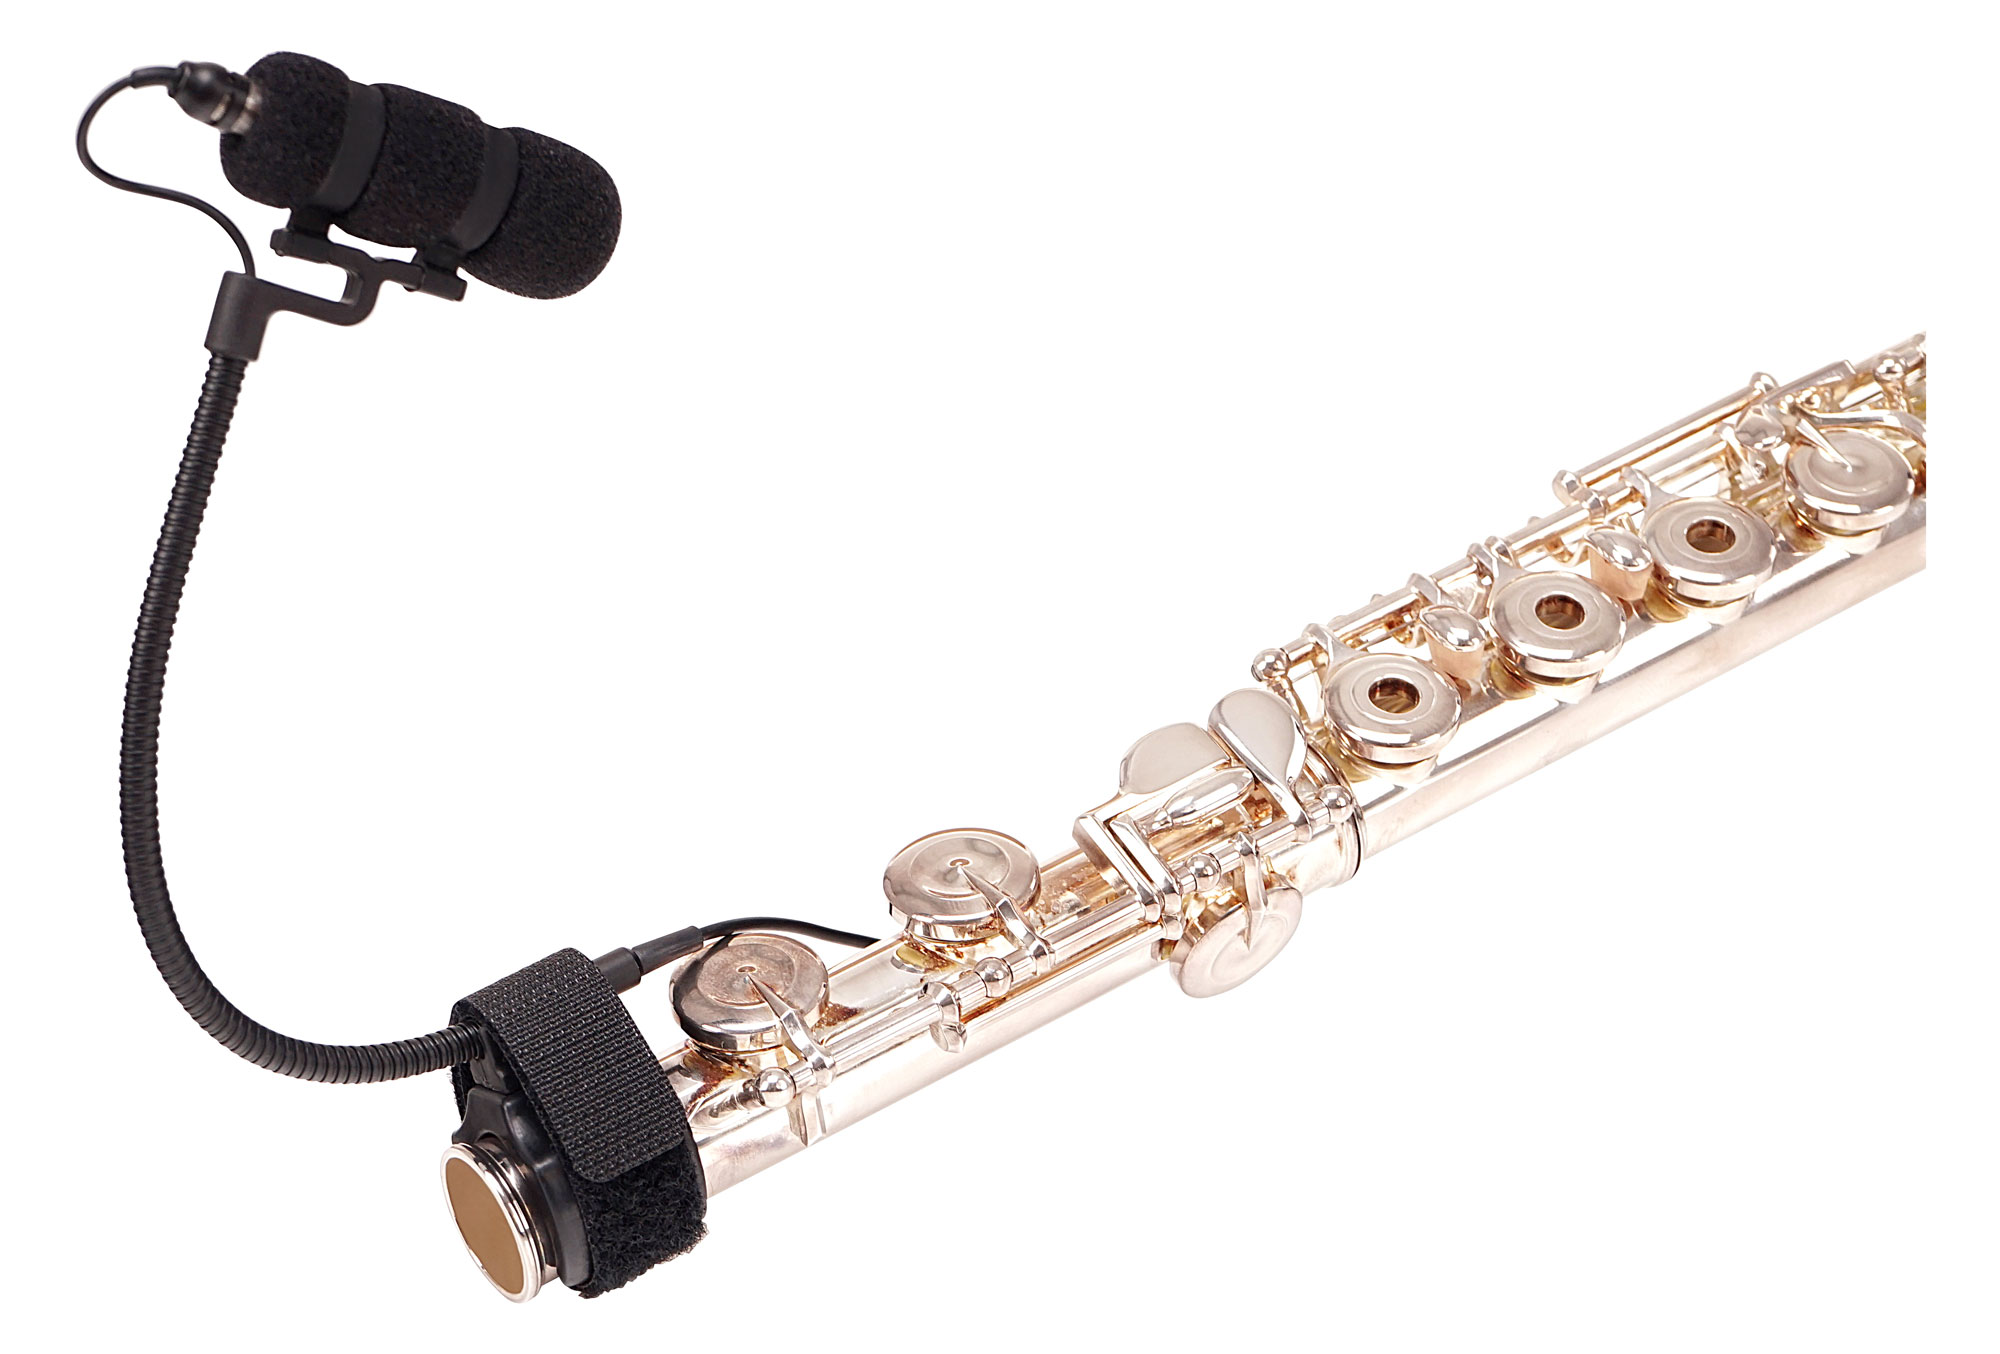
The flute radiates primarily from the embouchure and the tone holes. The microphone is placed 15–20 cm from the embouchure, aimed toward the central section of the tube, always somewhat off-axis to avoid picking up the direct airstream.
Managing bleed on stage
On a stage with a drum kit, amplifiers and monitors all sounding simultaneously, eliminating bleed entirely is impossible. The goal is to manage it so that it does not cause phase problems or muddy the mix.
The main strategies are:
- Proximity: The closer the microphone is to its own source, the better the signal-to-bleed ratio.
- Appropriate polar pattern: Supercardioid or hypercardioid in high sound density environments.
- Null point orientation: Directing the maximum rejection zone of the polar pattern toward unwanted sources.
- Physical separation: Acoustic baffles, cabinets aimed away from the stage or isolated racks reduce bleed between sources.
- Gates at the console: Noise gates that close a channel when its own source is not sounding, preventing bleed from passing into the mix.